Artificial intelligence has opened up incredible possibilities for creativity, and one of the tools I’ve found to be the most powerful for crafting realistic images is ComfyUI. Today, I’d like to share a peek into my workflow and explain how it all comes together to create visually stunning results.
What’s Special About This Workflow?
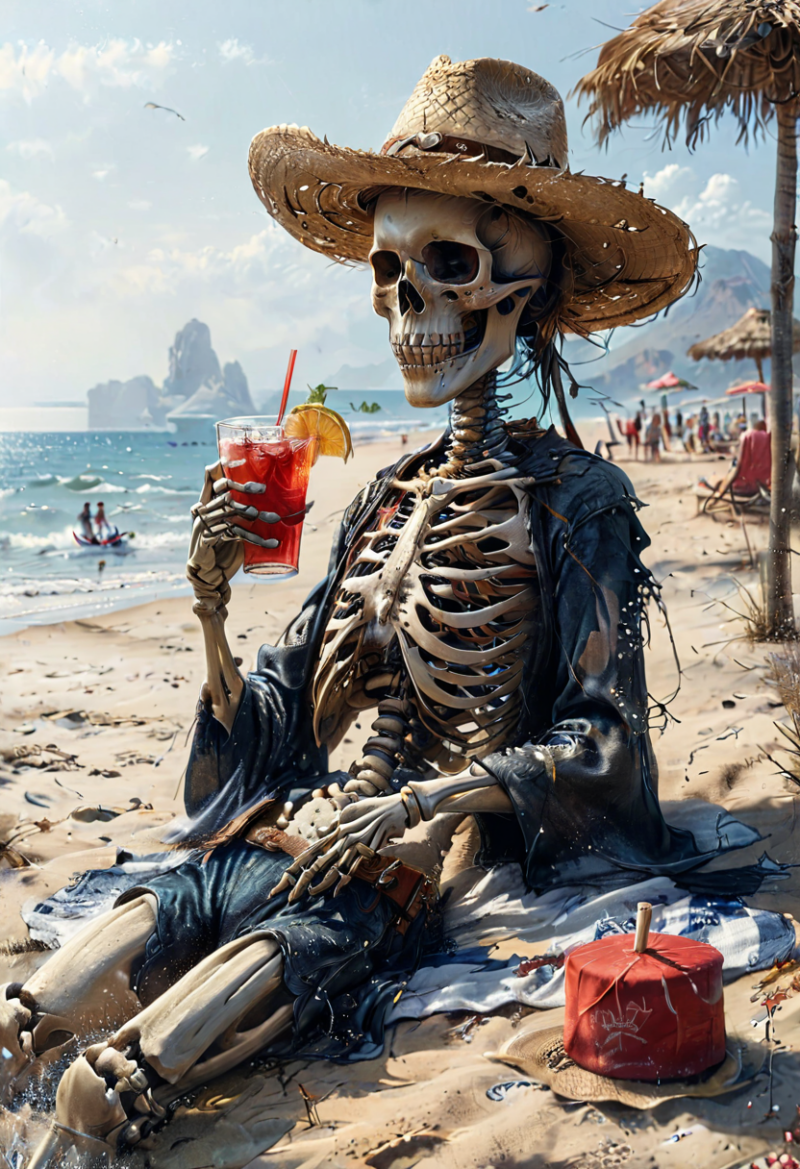
This workflow is designed to push the boundaries of realism in AI-generated art. It’s meticulously configured to balance the technical precision of AI with the artistic flair of human creativity. Whether it’s lifelike portraits, natural lighting, or intricate details, this setup ensures every output feels as close to reality as possible.

A Breakdown of the Workflow
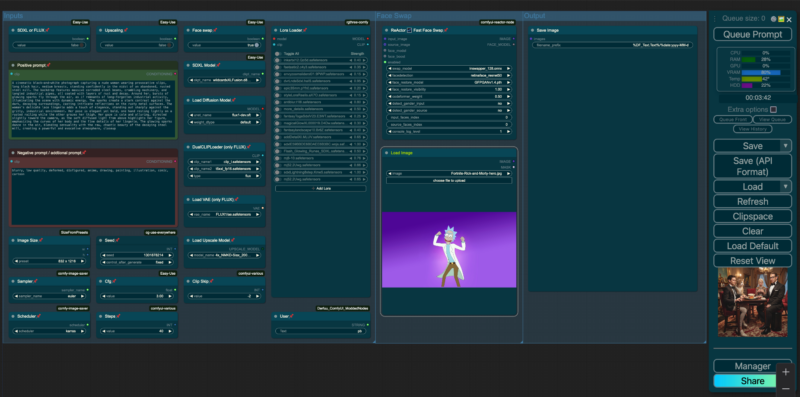
Here’s an overview of the key components and settings in my ComfyUI setup:
- Positive Prompt:
The positive prompt is the heart of the workflow. In this case, I used a detailed description to specify exactly what I wanted:- Soft lighting photography by Mimosa Velia and Mario Giacomelli, full body portrait of a beautiful natural woman with medium breasts, open robe, in the public bath, dark olive skin, soft light, bath environment, black over black, highly detailed, masterful painting in the style of Anders Zorn and Aleksi Briclot, oil on canvas.
- Negative Prompt:
To ensure clean and realistic results, the negative prompt filters out unwanted elements. It includes phrases like:- worst quality, extra fingers, missing fingers, poorly rendered hands, mutation, deformed limbs, watermark, cartoonish effects, overly saturated colors.
- Image Parameters:
Key settings for generating high-quality outputs:- Image Size: 832 x 1216 – Optimized for portrait-oriented visuals.
- Steps: 30 – Balances speed with quality.
- Cfg Scale: 3.0 – Controls how closely the AI follows the prompt for a natural look.
- Sampler: dpmpp_2m – Provides smooth and realistic outputs with fewer iterations.
- LoRA Models:
A collection of LoRA (Low-Rank Adaptation) models is applied to refine the output. These models allow for stylistic tweaks and detailed enhancements:- StyleLoraRealis for realism.
- Hyper: SDXL 1-Step for sharp details.
- Flash_Glowing_Runes for dynamic lighting effects.
- Upscaling:
After the initial generation, I use an upscaling model (e.g., 4x_NMKD-Siax_200k) to enhance resolution and bring out fine details without compromising quality.
Why This Workflow Stands Out
This setup is built for flexibility and precision. By combining detailed prompts, advanced LoRA models, and thoughtful parameters, it ensures that every image meets high standards of realism. The workflow isn’t just about generating art — it’s about crafting something that feels alive.
How to Use This Workflow
If you’re ready to try this workflow for yourself, here’s how to get started:
- Download ComfyUI:
ComfyUI GitHub Repository – Install the framework on your local machine. - Import the Workflow:
Copy the JSON configuration for this workflow (available for download below) and import it into ComfyUI. - Load the Models:
Install the necessary LoRA models and checkpoint files to replicate the exact settings. - Customize Prompts:
Tailor the positive and negative prompts to suit your creative vision.
Final Thoughts
This workflow showcases the incredible potential of AI in generating lifelike art. With tools like ComfyUI, we’re able to bridge the gap between imagination and reality, one pixel at a time.
Want to try it out? Download the workflow file and start creating! Feel free to share your results or ask questions in the comments below — I’d love to see what you come up with!